Fall Plant Swap

Monday, November 20, 2017

Yesterday I went to a plant swap organized by a local nonprofit (thanks Brave Harvest). Everyone brought potted plants or cuttings to trade, and the organizer provided pots, potting soil, and rooting hormone. I wish I had taken more photos of the event in action, but honestly I was having too much fun geeking out with other people who love plants as much as I do.

Here's a pic of my new babies. I decided to keep put them in my bathroom so that I can keep an eye on them. This spot is more protected from my dogs and kids, and it's the most humid environment I have in my home.

I got cuttings of two different cassias -- one with large leaves (Cassia alata) and one with small leaves (Cassia bicapsularis). I cut back the foliage on the larger cassia after this photo was taken, to help prevent it from drying out before it forms good roots. I also snagged Lady Margaret passion flower (Passiflora x Lady Margaret) and Turk's cap (Malvaviscus pendiflorus), all of these from the same generous gardener. My friend Erin also gave me a small, spiky, vase-shaped aloe and some twee  succulents that remind me of little tongues (or even lateral lithops, given the patterning). She said they're some type of Gasteria spp.

Cross your fingers that these babies all make it!

(The little plant on the windowsill is a


I'm back!

Thursday, August 24, 2017

I'm back! Yes this blog has been dormant for awhile, but I'm finally tinkering in the yard again so I thought I may as well document what I'm planning and planting.

For  my birthday this year I treated myself to a number of plants destined for the foundation bed in the front yard -- knockout roses, Texas sage, flax lily, and a variegated lemon tree. The lemon tree went in a different bed though.


This picture was taken earlier this summer. And then it rained basically non-stop. Seriously. This was the wettest summer on record here in Gainesville. So now my grass is brown, not green, because all this moisture seems to have created the perfect conditions for some sort of lawn disease to creep in and take hold. I'm guessing it's fungal. But that's another post for another time.

Make it rain, or how to install your own DIY irrigation system

Saturday, July 16, 2011

Despite how hideous our lawn has been looking, my husband wisely pointed out that we probably aren't ready to install new sod yet. He reminded me that we're missing something really important: a reliable way to irrigate new sod.

I pointed out that we have a functional sprinkler and a long hose. He said I was crazy.

Okay, not really. But he did say that there was no way he was going to drag a hose around the yard for weeks and weeks to make sure that the new sod wouldn't fry in our hot Florida summers. I had to admit -- he had a valid point.

So we decided to spend our Independence Day weekend installing a proper irrigation system.


All in all, I think we dug at least 130 linear feet of trench. Since our soil is so sandy, it was relatively easy to get the trenches dug. I say "relatively" because it's still a lot of heavy lifting compared to the desk jockey stuff I do on a day-to-day basis. If we were going to do it again, I might want to rent a trencher. Of course, that requires advance planning, and we didn't decide that we were embarking on this project until sometime on Saturday.

On the positive side, we did have a few extra bodies who stopped by while we were digging trenches.


Our dogs love spending time with us when we're working in the yard, and being the softies we are, we let them. The black one is hilarious -- any time we dig a hole, he always starts rooting around in the soil like a pig hunting for truffles. Here he is sniffing the soil and digging deeper. If only we could train him to dig in a controlled fashion!


It took awhile, but ultimately we got all of the trenches dug and all of the pipes and irrigation heads laid out and glued together. We opted for overhead spray heads rather than drip emitters, since those are the best option for irrigating lawn areas. We even installed a timer and a rain sensor so that the system will run only when the lawn needs water.

Here's the finished project, with the soil tamped back in place. Now we just need sod!


Would I do it again? Absolutely. It was a lot of work but it saved us a ton of money to do it ourselves. Our cost for materials was about $300, whereas we would've paid a professional upwards of $1,000 to do the same job. Plus we ended up with a huge feeling of satisfaction, which is priceless.

For anyone who's interested, here's a fun time lapse video that we took on the second day of the project.


Lush lawns: the must-have accessory for bold gardens

Friday, July 15, 2011

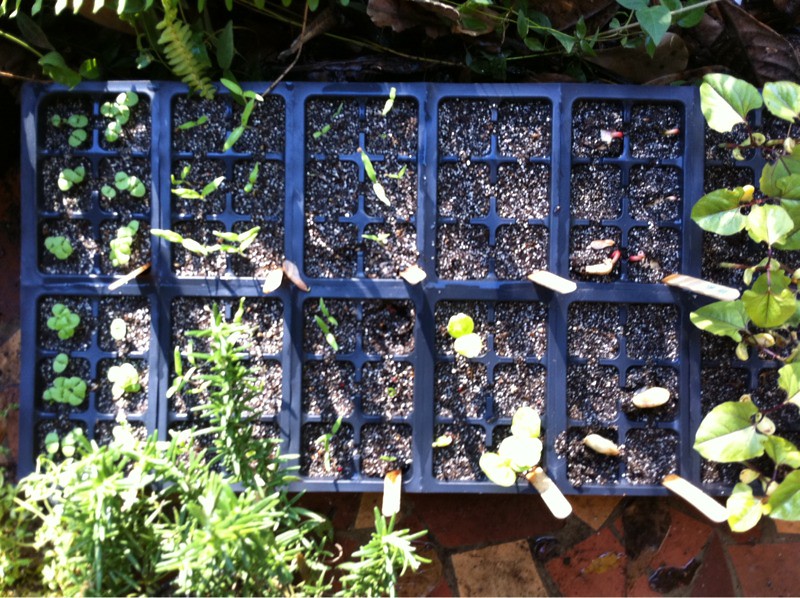
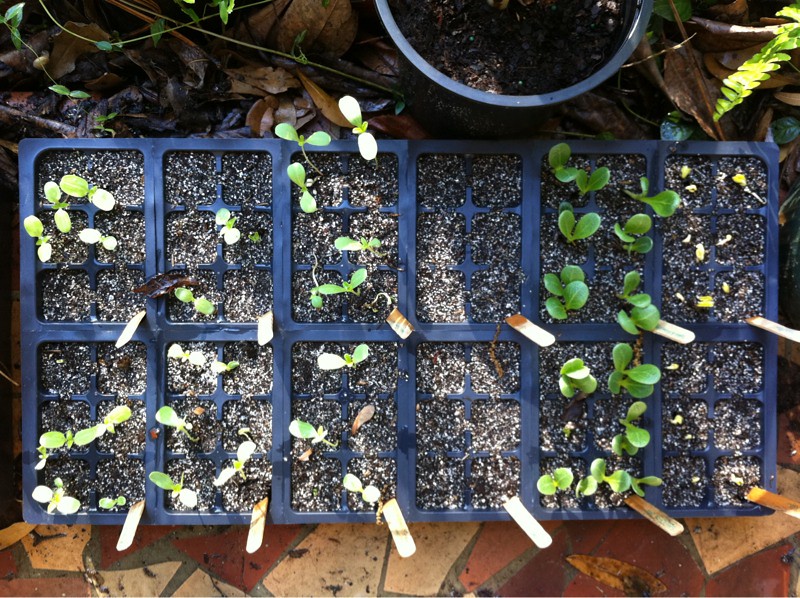
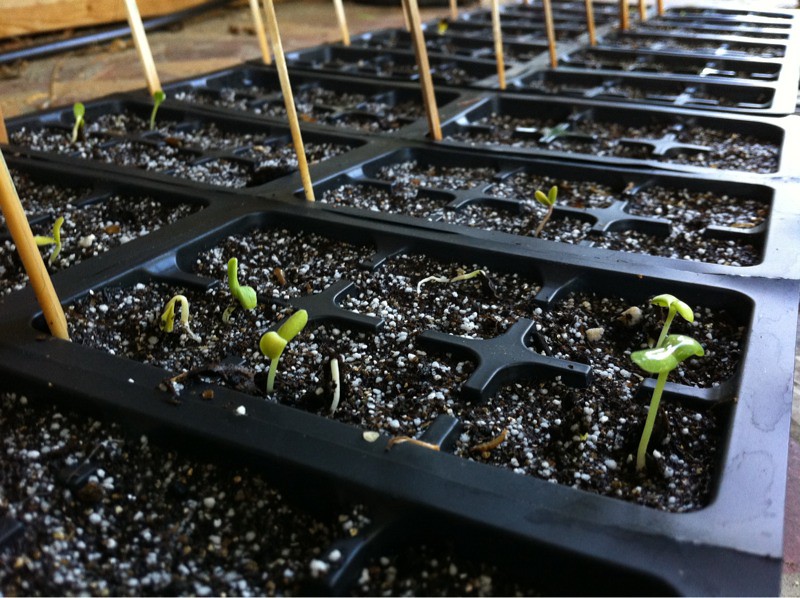
Good-ness! It's been awhile since I posted. Here's the quick update on the seedlings. A good number of them survived, despite the fact that I neglected to transplant most of them out of their six-packs.


These castor beans were a few of the ones that found permanent homes in the yard, and well, now I think they're just showing off to make the others jealous.

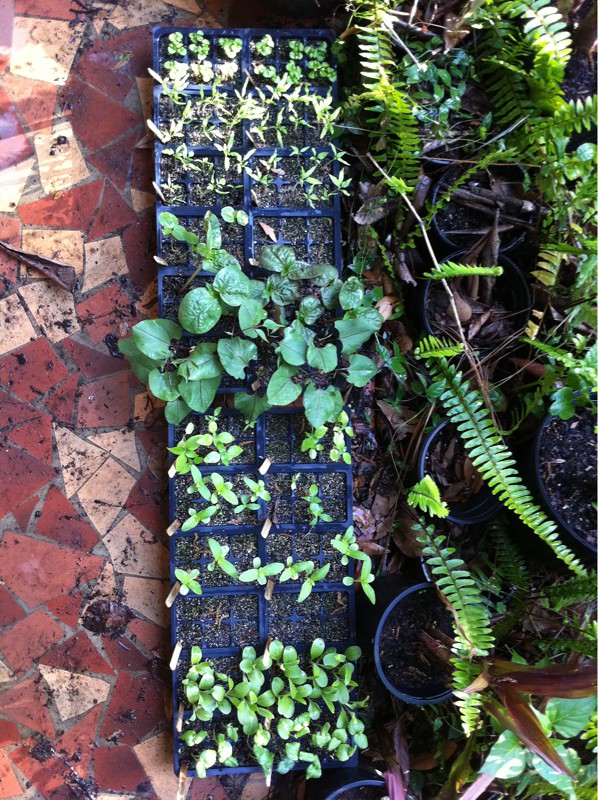
It's pretty amazing, really. Some of the plants that were stuck in six-packs were 18" tall and had shoved their little roots out the bottoms of the pots and into the soil below. I'm convinced that the only reason they survived at all was because of the microirrigation system that my husband set up. I seriously love that man.

And speaking of irrigation and why I love my husband, that brings me to my next tale.

For awhile now, we've been making plans to replace our old "mixed" lawn with a new, freshly sodded, beautiful green lawn. My husband is a turfgrass researcher, so it's perhaps not surprising that he wants a nice lawn in front of our house. Of course his specialty is golf courses and athletic fields, so I'm pretty confident he'll never turn into one of those crazy lawn-obsessed men who you see weeding their yard with tweezers every Saturday morning!

I've never been the kind of person who felt compelled to have a nice lawn. Mostly it's because I'm lazy busy with other things and don't like the maintenance involved.

That being said, I've come to realize that a good looking lawn can work wonders in a garden. As y'all know, I'm the kind of gardener who likes to mix lots of bold textures and colors in my plant beds. As lovely as that can look, it can sometimes be a little visually overwhelming. That's why you need a quiet place for the eye to rest -- like a lawn.

Lush container at McMayhill & Baker home

DSC_0306

Landscape bed at Bates Garden in Portland

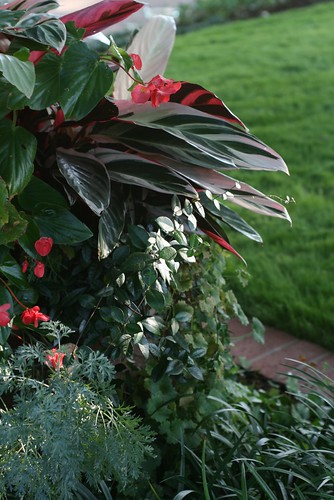
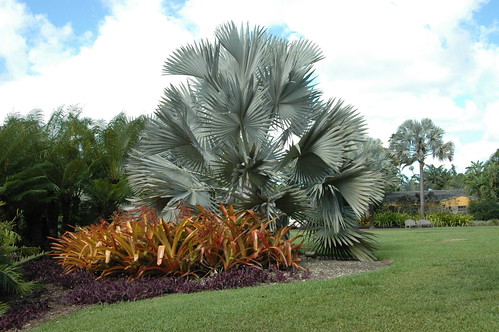
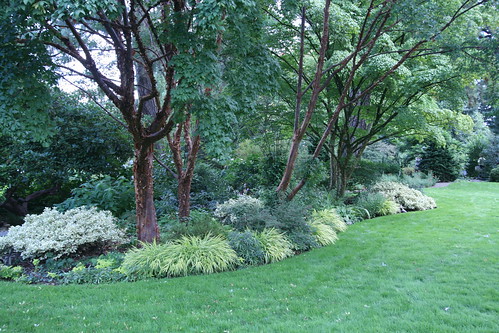
Think of it as the gardening equivalent of a neutral. Having that constant green backdrop will help make your bold and exciting plants really pop.

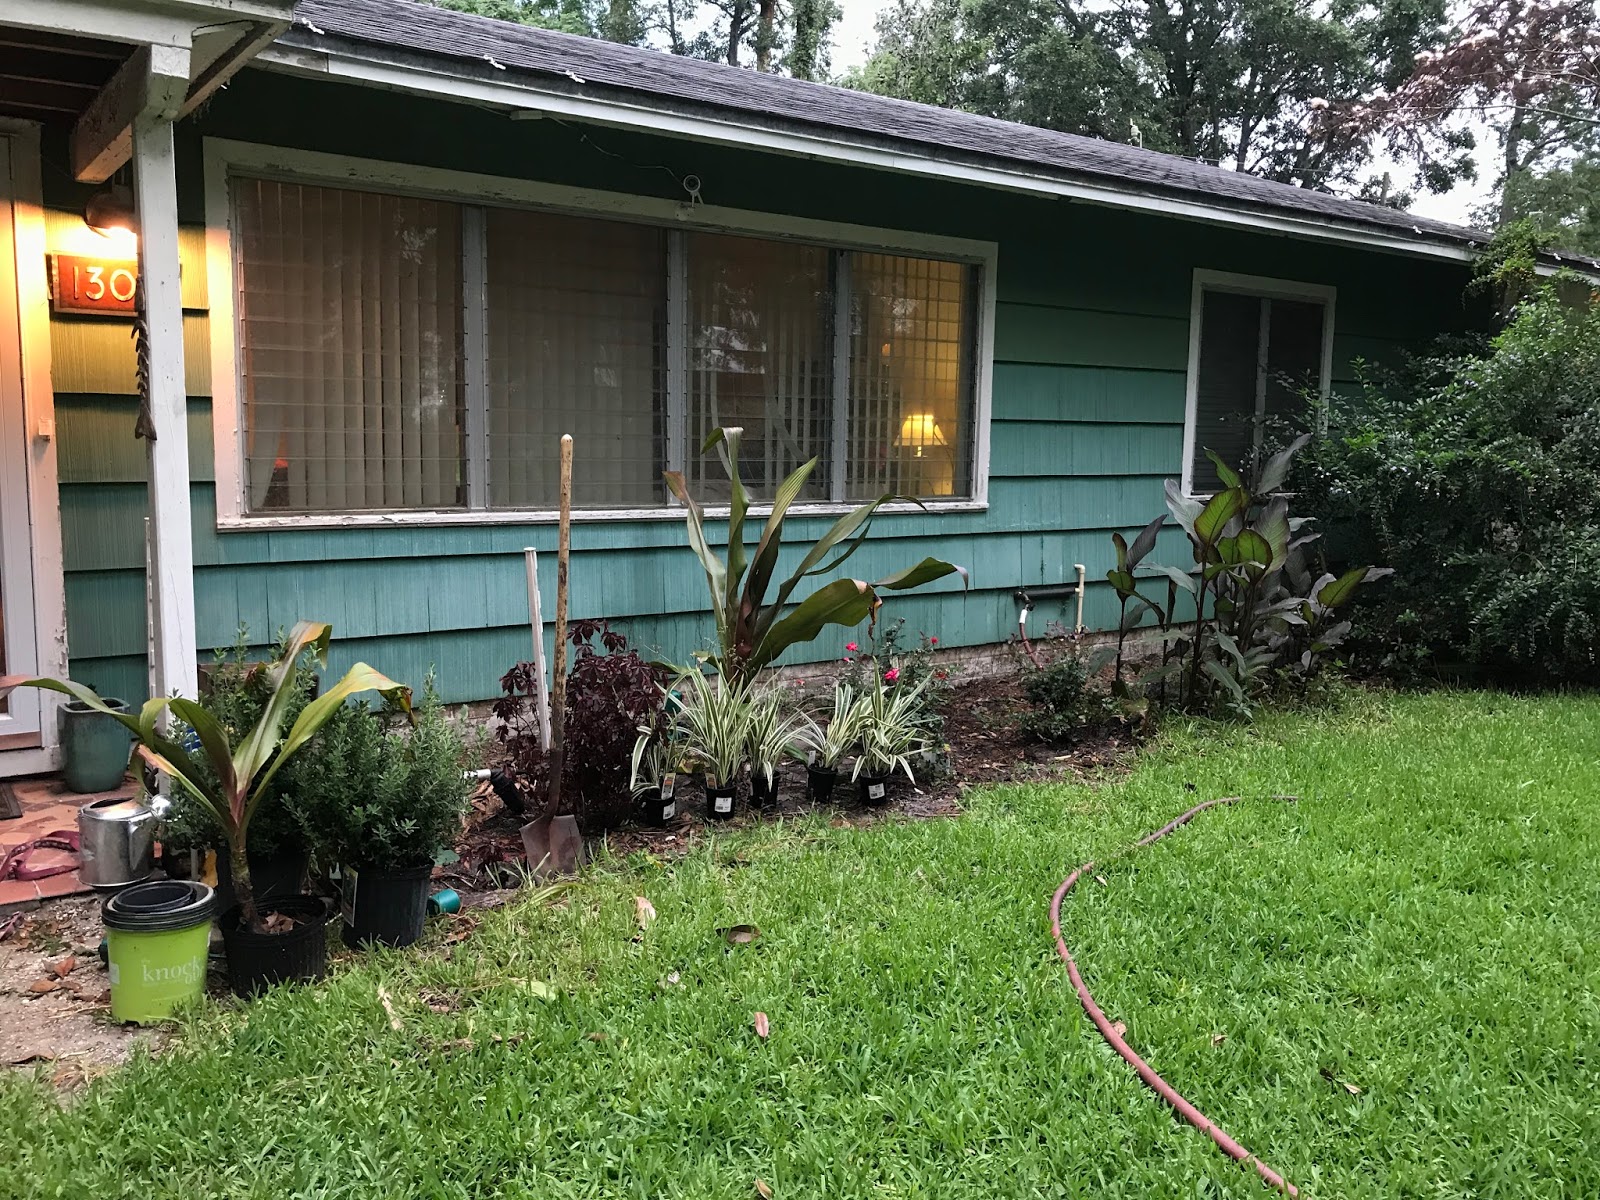
So we've been trying to kill off what's left of our current lawn. In short, it's ugly. After the winter rye grass petered out, we were left with brown, brown, and more brown. Ugh. I'm somewhat embarrassed about what my garden looks like right now. I know it's temporary, but I still feel like the neighbors probably drive by every day and wonder what the hell we're up to.

As I said, our plan is to completely re-sod the front yard, but there's something important we had to tackle first. Check back tomorrow for the full post on how we installed our own irrigation system!

Seedling update

Friday, March 25, 2011

It looks like I'm having better success this year with starting plants from seed. Here are two shots of the first few plants popping their heads above the soil line.


And here's what they look like now (sorry for the vertical image -- iPhone issues).


What a difference! The only ones yet to sprout are the white datura and green nicotiana. I owe my hubby a big thanks for setting up the microirrigation system. Without that, I'm not sure the plant babies would've stood a chance.

Looks like I'll either have up-pot these or transplant them pretty soon here, before they get too big for those little cell packs.

- Posted using BlogPress from my iPhone

Lovely spring

Thursday, March 24, 2011

We have had one of the loveliest springs that I've ever seen. I guess it's because we had a consistent stretch of consistent cold and then a gradual warming up, rather than the cold/hot/cold that we've had in other years.

The fragrance coming from the orange blossoms has been off the charts. I wish that this picture could be scratch and sniff so that you could smell the flowers firsthand!


All of the flowering trees and shrubs are blooming their hearts out. I just adore this Chionanthus virginicus outside my husband's office.


And now the herbaceous plants are revving up to bloom. Here's one of the soap aloes that we planted last spring along the street.


For those of you living farther north, hang in there -- hopefully spring won't be too far off!

- Posted using BlogPress from my iPhone

So far so good

Wednesday, March 2, 2011

I decided to start some seeds this year. I figured I had little to lose since I already had a bunch of seeds hanging around from my last attempt.


So far they're looking good! I planted them last week and already the zinnias and roselle are popping up.

I think a big help is that my wonderful husband set up a timed microirrigation system to help keep them moist. That's really what I had problems with the last time. The seeds came up on their own, but I think they dried out before I got them planted in the ground.

Who knows--maybe this year I'll break the seed-starting curse!

- Posted using BlogPress from my iPhone